react에서 화면영역 프린트
- useRef사용하여 원하는 인쇄영역에 ref 잡아주기
const printRef = useRef();
<div ref={printRef}>
<table style={{width:"100%", borderLeft: '#000 2px solid', lineHeight: '1.3', fontFamily: 'dotum, sans-serif', fontSize: '12px', borderTop: '#000 2px solid'}} className="tse_tbl" border={0} cellSpacing={0} cellPadding={8} width={620}>
<tbody>
<tr>
<td style={{borderBottom: '#000 1px solid', borderRight: '#000 2px solid'}} colSpan={3}>
<div style={{textAlign: 'center', paddingBottom: '20px', paddingLeft: '0px', paddingRight: '0px', paddingTop: '20px'}}><strong style={{fontSize: '30px'}}>휴가신청서</strong></div>
<table style={{lineHeight: '1.3', fontFamily: 'dotum, sans-serif', fontSize: '12px'}} className="tse_tbl" border={0} cellSpacing={0} cellPadding={0} width="100%">
<tbody>
<tr>
...
...
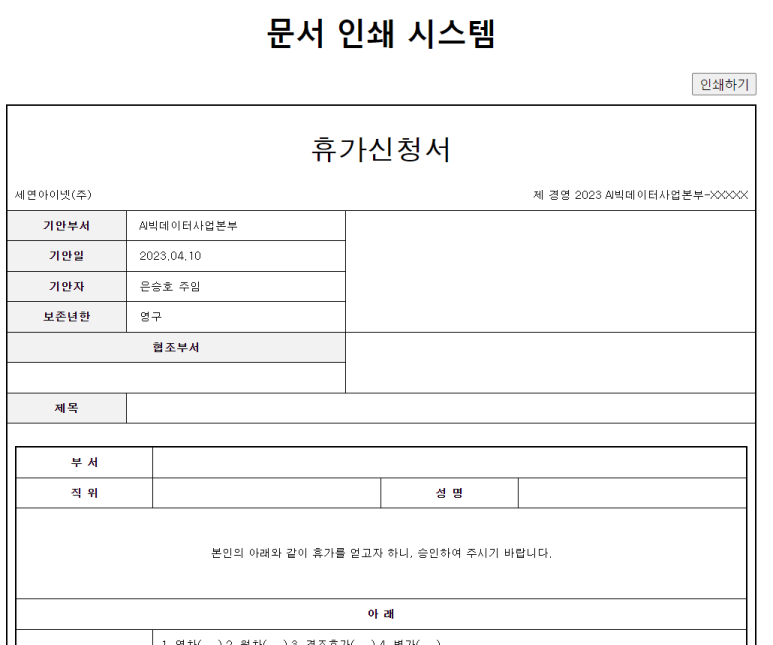
</div>2. 이벤트를 통해 해당영역 인쇄 진행
<button onClick={printHandler}>인쇄하기</button>

const printHandler =()=>{
    let printContents = ReactDOM.findDOMNode(printRef.current).innerHTML;
    let windowObject = window.open('', "PrintWindow", "width=1000, height=800, top=100, left=300, toolbars=no, scrollbars=no, status=no, resizale=no");
    windowObject.document.writeln(printContents);
    windowObject.document.close();
    windowObject.focus();
    windowObject.print();
    windowObject.close();
  }
3. 결과확인
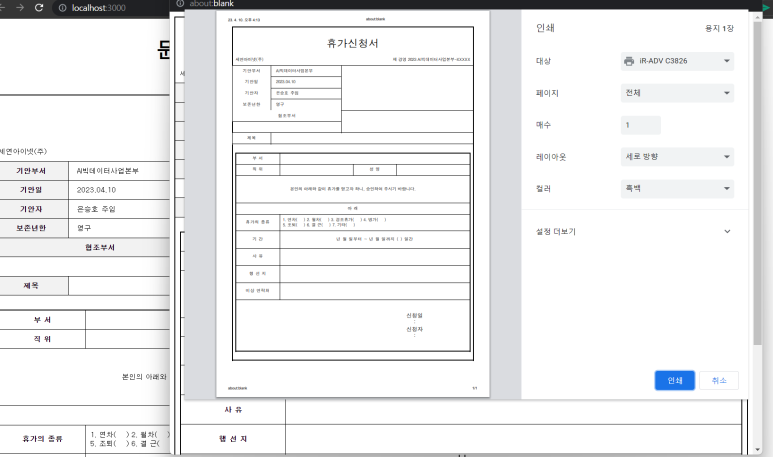
*** 추가 ***
1. 인쇄버튼 선택시 미리보기 창에서 멈추고 미리보기창에서 인쇄 또는 취소진행
2. 인쇄영역 머리글/바닥글 제거
3. 인쇄창에서 화면 전환시 자동으로 미리보기창 종료
4. 미리보기화면의 인쇄/취소 버튼 동적 추가/삭제
function App() {

  const printRef = useRef();

  const printHandler =()=>{
    const printContents = ReactDOM.findDOMNode(printRef.current).innerHTML;
    const windowObject = window.open('', "PrintWindow", "width=800, height=800, top=100, left=300, toolbars=no, scrollbars=no, status=no, resizale=no");
    windowObject.document.write(`
      <html>
        <head>
          <title>미리보기</title>
          <style>
            @media print {
              @page {
                margin: 0;
              }
              body {
                padding: 15mm;
              }
            }
          </style>
        </head>
        <body>
          ${printContents}
        </body>
      </html>
    `);
    windowObject.document.close();

    //버튼 동적 추가삭제 start
    const printButton = document.createElement("button");
    const cancleButton = document.createElement("button");
    printButton.innerHTML = "인쇄하기";
    cancleButton.innerHTML = "취소";
    printButton.style = "float: right; margin-bottom: 10px; margin-right: 5px";
    cancleButton.style = "float: right; margin-bottom: 10px;"

    //인쇄하기 click
    printButton.onclick =()=>{
      printButton.remove();
      cancleButton.remove();
      windowObject.print();
    }

    //취소 click
    cancleButton.onclick =()=>{
      printButton.remove();
      cancleButton.remove();
      windowObject.close();
    }

    const firstElement = windowObject.document.body.firstChild;
    windowObject.document.body.insertBefore(cancleButton, firstElement);
    windowObject.document.body.insertBefore(printButton, firstElement);

    //버튼 동적 추가삭제 end

    windowObject.focus();

    //인쇄화면에서 이동
    windowObject.onafterprint =()=>{
      printButton.remove();
      cancleButton.remove();
      windowObject.close();
    }

  }

  return (
    <div className="App">
        <div style={{minHeight:"800px", width:"800px"}}>
          <div style={{display:"flex", justifyContent:"center"}}>
            <Header />
          </div>
          <div style={{float:"right", marginBottom:"10px"}}>
            <button onClick={printHandler}>인쇄</button>
          </div>
          <div ref={printRef} id="printContent">
            <Print1 /> // 문서양식 component
          </div>
          <div style={{fontSize:"12px", marginTop:"5px"}}>
            <Footer />
          </div>
        </div>
    </div>
  );
}

export default App;
'react' 카테고리의 다른 글
| SpringBoot - React CORS Error 해결 (0) | 2023.05.24 |
|---|---|
| Breadcrumb 만들기 (0) | 2023.05.16 |
| react 전체 선택/해제 구현 (0) | 2023.05.16 |
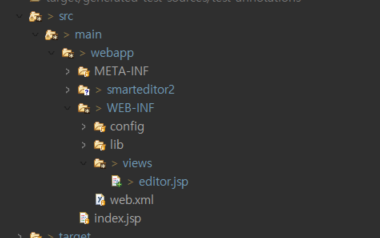
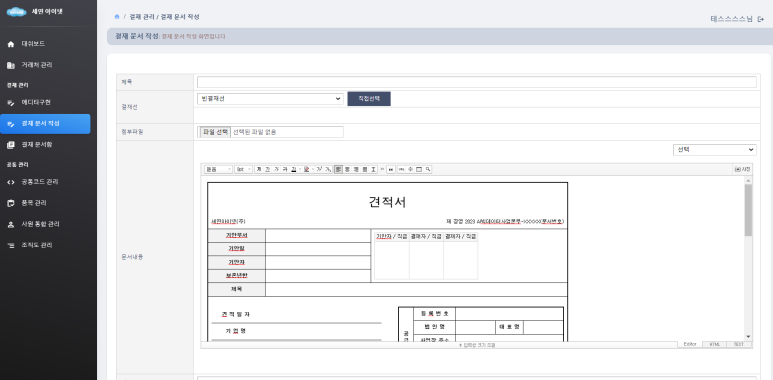
| 네이버 스마트에디터(2.0) 사용하기 (0) | 2023.05.16 |
| React hooks, jsx 문법 (0) | 2023.05.15 |